Der Knopf
Posted on Mi 08 Mai 2019 in Computer & Electronics
This is a re-post of an article I originally published in June 2015 on our CE&PP Techblog. I have recently built a few more of these buttons and so I thought, I'd move the post to my new blog.
"Just press the button" has turned into a running gag in our department, because some people think that re-doing a data analysis that has been scripted doesn't take more than a simple press of a button. That does not always go down well with the people who "just press the button". So I thought I'd address this – literally.
So I needed a button that automatically runs stuff. In my parts bin I found a few AVR USB microcontroller sticks like this:
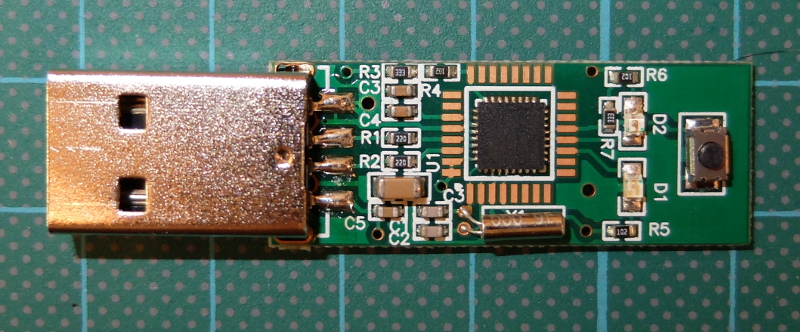
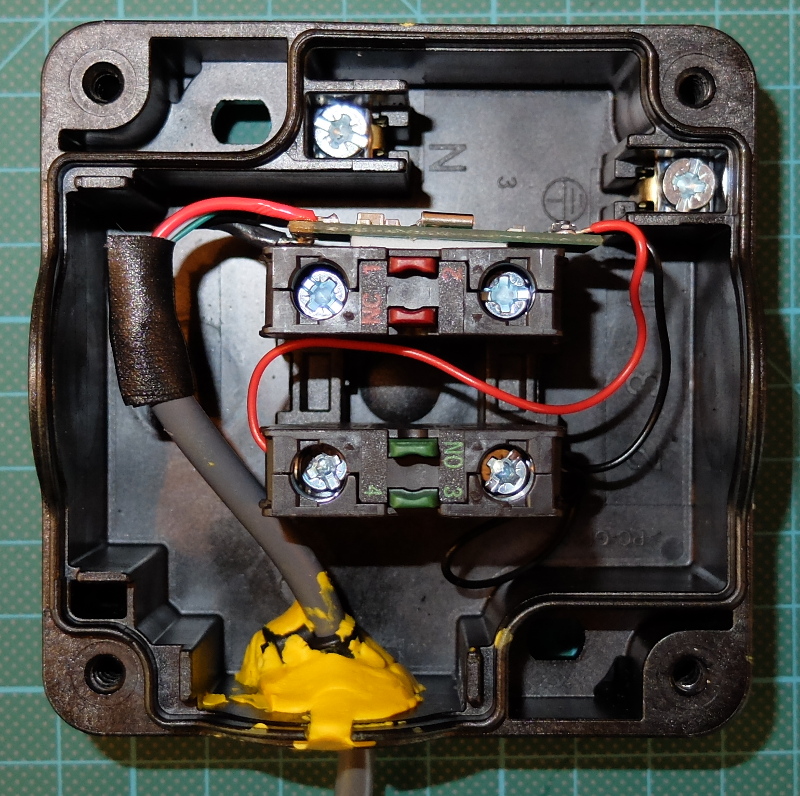
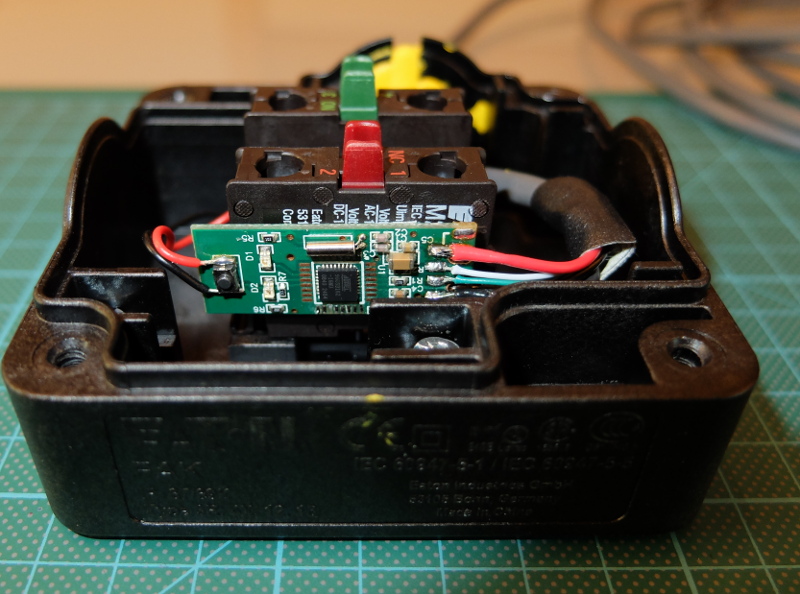
It was something like 3.50€ at the friendly chinese ventor on eBay and it's great tinkering material: AT90usb162 microcontroller, a small button, two LEDs – what else could you want? But the tiny button did not match my rather bold vision of a real button. So I replaced the USB-A connector with a long usb cord and soldered some wires to the tiny button. Those were connected to a big red palm switch. I stuck the pcb to the inside of the switch with double-sided sticky tape and botched together a strain relief from a zip tie and some Sugru:
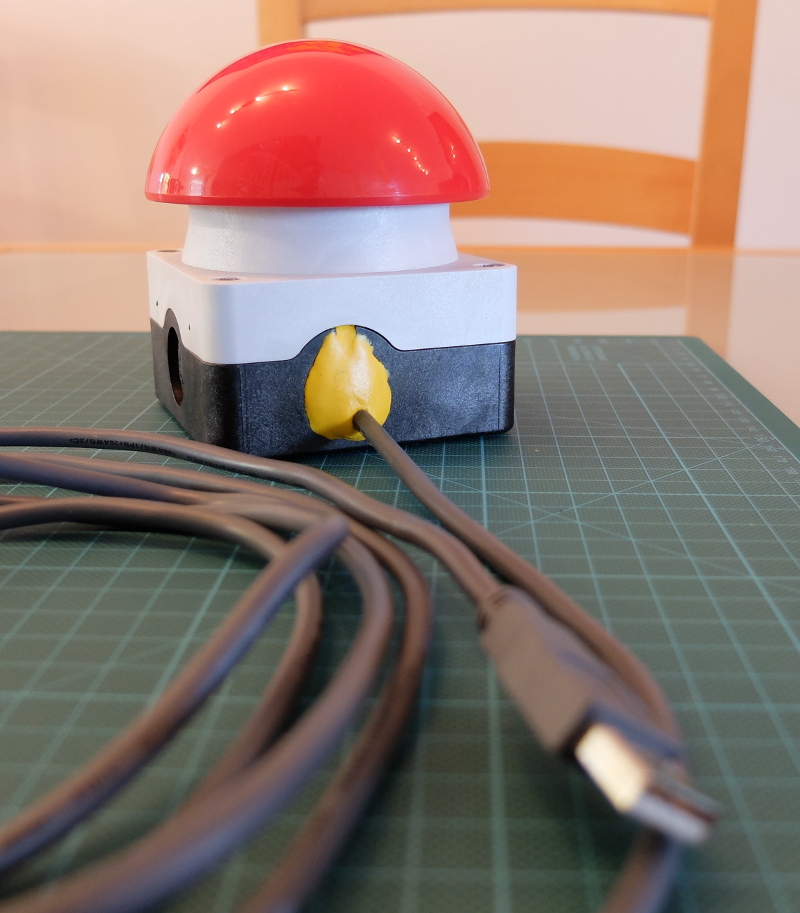
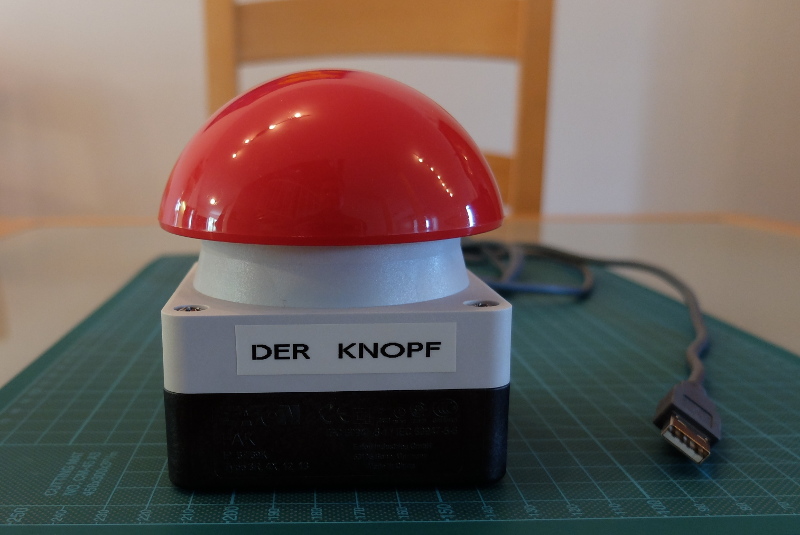
Reassemble the case and we are finished with the hardware part:
Looks good. Now we need firmware – that was easy enough: I stole some USB-HID demo code that was intended for the Teensy and adapted it to my needs. This is the main program:
/*
 *  DER KNOPF
*/
#include <avr/io.h>
#include <util/delay.h>
#include "usb_keyboard.h"

#define CPU_PRESCALE(n)    (CLKPR = 0x80, CLKPR = (n))

int main(void){
    uint8_t lock; // locking flag
    CPU_PRESCALE(0);

    DDRD &= ~(1<<PD7);  // configure PD7 as input
    PORTD |= (1<<PD7);  // turn on pull-up
    usb_init();
    while (!usb_configured()); // wait for host
    _delay_ms(1000);    //  sleep 1 more second, just in case

    lock = 0; // unlock key
    // job loop
    while (1) {
        if ( !(PIND & (1 << PIND7)) ){
            // key pressed
            if ( !lock ) {
                lock = 1; // lock key

                // type command
                usb_keyboard_press(KEY_R, KEY_LEFT_GUI);
                _delay_ms(300); // wait for dialog to open
                usb_keyboard_press(KEY_D, 0);
                usb_keyboard_press(KEY_E, 0);
                usb_keyboard_press(KEY_R, 0);
                usb_keyboard_press(KEY_K, 0);
                usb_keyboard_press(KEY_N, 0);
                usb_keyboard_press(KEY_O, 0);
                usb_keyboard_press(KEY_P, 0);
                usb_keyboard_press(KEY_F, 0);
                usb_keyboard_press(KEY_PERIOD, 0);
                usb_keyboard_press(KEY_B, 0);
                usb_keyboard_press(KEY_A, 0);
                usb_keyboard_press(KEY_T, 0);
                usb_keyboard_press(KEY_ENTER, 0);
            }
        } else {
            // key released
            lock = 0; // unlock key
        }
        _delay_ms(100); // delay for debouncing
    }
}
Once connected to a computer, Der Knopf identifies as a USB-HID device,
specifically, it claims to be a Cherry keyboard (you can configure the USB ID
in the usb_keyboard.c file). Pressing the button then auto-types Win+R
(i.e. "run command" in Windows) followed by "DERKNOPF.BAT". So all that's
left to do is ensuring that there is a batch file of that name to be found in
the user's path (e.g. C:\users\phil) and voila – the button does it's bidding.